3D printing has made prototyping faster and more accessible than ever, allowing engineers to go from CAD file to physical part in hours. For good reason, most product teams now treat it as a standard part of their development process.
But that accessibility has created a blind spot. Designs that print beautifully often can't be injection molded, and many teams don't find out until they send their files to a manufacturer. The 3D print validates the concept, but it doesn't account for how molds work or whether the part can be produced at scale. It's a gap we see often at Kingstec, working alongside our clients' engineering teams.
In this article, we'll cover the key differences between the two processes, where designs break down, and how to avoid costly surprises when moving from prototype to production.
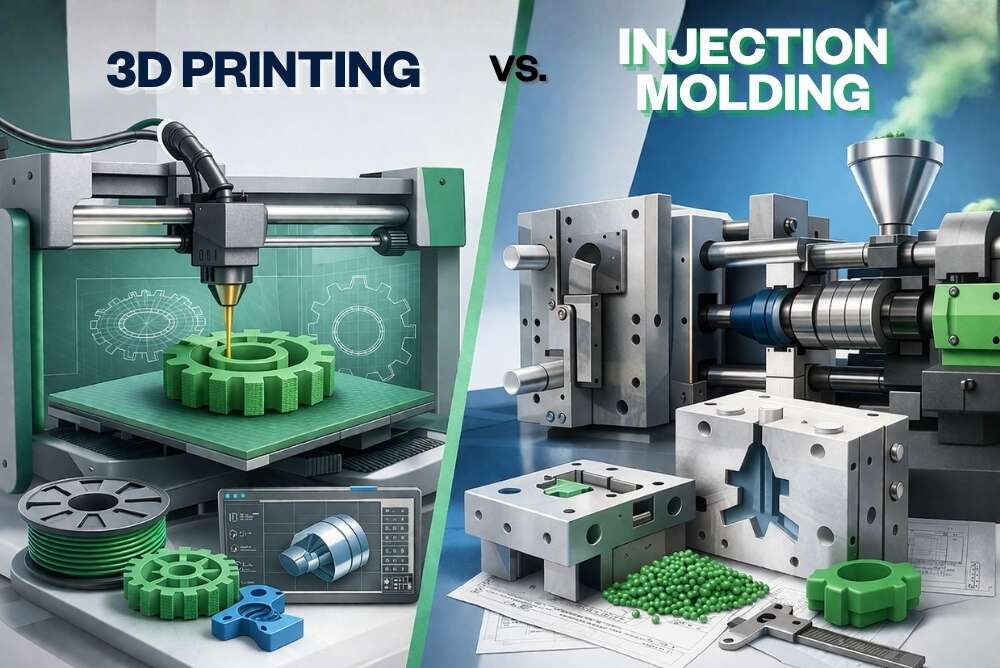
3D printing builds parts layer by layer from a digital file, while injection molding forces molten plastic into a precision-machined mold under high pressure.
The difference starts with how each process forms the part. 3D printing deposits or cures material one thin layer at a time, guided by a CAD file. There’s no tooling and almost no geometric limitations. If you can model it, you can probably print it. That freedom makes 3D printing ideal for prototypes, low-volume runs, and complex geometries.
Injection molding, by contrast, relies on a precision-machined steel mold that is clamped shut, filled with molten plastic, cooled, and opened to release the finished part. That cycle repeats thousands of times, and molds can contain multiple cavities to produce several parts per cycle, which is how injection molding achieves the speed and volume that make it the standard for mass production. But that efficiency comes with constraints: every feature in the design has to account for how the mold opens, how the part releases, and how the plastic flows and cools inside the cavity.
Standard 3D-printed parts are generally weaker than injection-molded parts because of how the material is deposited. The key differences come down to structure and material selection:
Glass-filled and carbon-fiber reinforced 3D printing resins have narrowed this gap for prototyping, allowing engineers to test heat resistance and structural performance in real operating conditions. But the prototype and the final injection-molded part will use different materials, so a successful print doesn’t guarantee identical production performance or confirm that the design can be molded.
Not always. This is where many engineers get caught off guard. Features that are easy to print often require complex tooling, redesigns, or can’t be molded at all. Common problem areas include:
3D printing is more cost-effective for prototypes and low volumes because there’s no tooling. Injection molding requires upfront investment, but becomes significantly cheaper at scale as that cost is spread across thousands of parts. Where that crossover happens depends on part complexity, material, and production volume.
At a glance:

The cost comparison most people overlook is the cost of getting the transition wrong. If a 3D-printed design can't be molded as-is, manufacturers face redesign costs, new prototyping cycles, and potentially reworked or scrapped tooling.
Getting a design reviewed by a manufacturer before committing to tooling adds a step, but it's one of the most effective ways to control costs over the life of the project.
The transition from prototype to production works best as a structured process. Each stage builds on the last, and skipping steps is where costly problems tend to emerge.
Step 1: Validate fit and space with 3D printing.
Confirm the part fits within the assembly, clearances work in practice, and component relationships hold up physically. This is what 3D printing does best.
Step 2: Test performance with advanced materials if needed.
Glass-filled or carbon-fiber reinforced resins can provide useful insight into heat resistance and structural performance. Results are directional, not definitive, since the production part will use a different material.
Step 3: Get your design reviewed by an experienced manufacturer.
This is the step most teams skip, and it's the one that makes the biggest difference. An experienced manufacturer can flag features that won’t translate to a mold before you commit to tooling. Fixing issues here is far cheaper than modifying a mold after it’s cut.
Step 4: Commit to tooling with confidence.
Once the design is optimized for manufacturability, a process known as Design for Manufacturability (or DFM), tooling moves faster and initial samples are more likely to meet requirements.
With over 43 years of manufacturing experience, Kingstec provides the injection molding expertise, factory relationships, and quality oversight that helps engineers move from prototype to production without costly detours.
Kingstec can help you:
Contact Kingstec to review your design and get a clear path from prototype to production.